
How to Coordinate Your Manicure With Your Engagement Ring (So Both Sparkle Beautifully)
SPONSORED
Main image – Javier Gonzalez
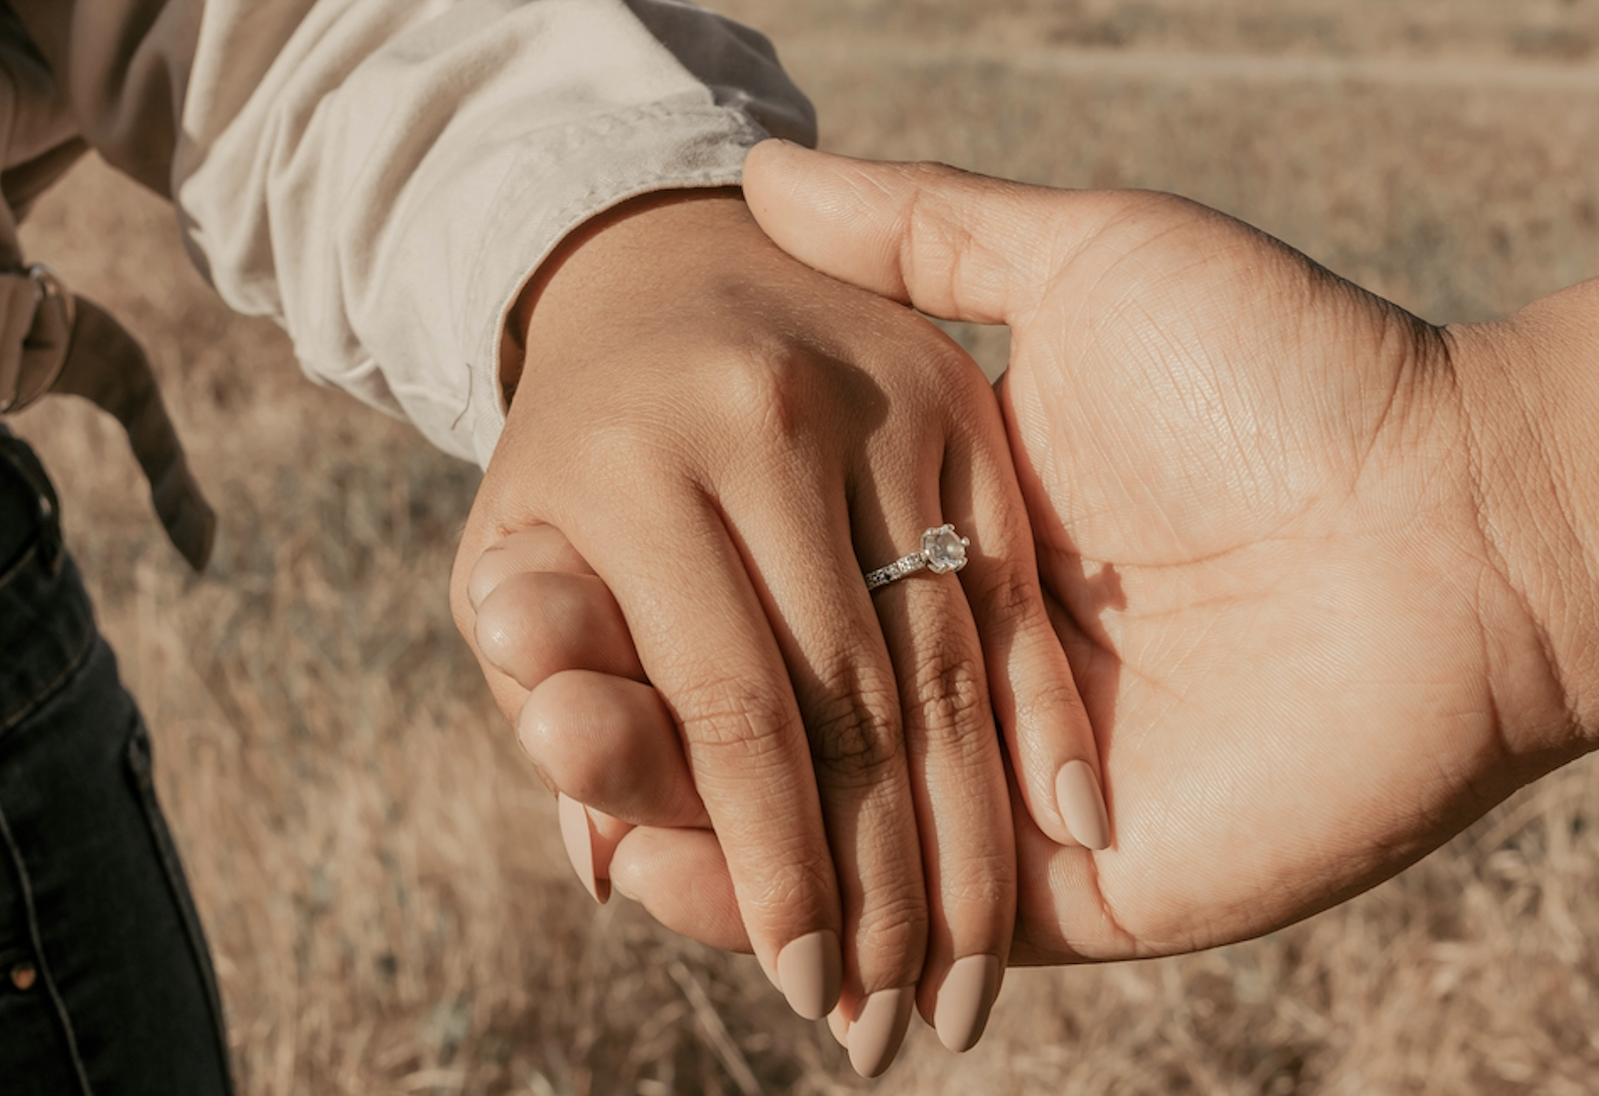
When someone takes a close-up photograph of your engagement ring, what catches the eye first: the stone or the four fingernails surrounding it?
You might assume it’s the ring, but your nails actually take up more of the frame than even the biggest centre stone. Which means a chipped tip or a polish shade that doesn’t quite work with the metal can be just as noticeable as the ring itself. Not exactly the look you had in mind.
Polish colour by skin undertone
You’ve probably heard of the vein test for working out your skin’s undertone. The idea is that blue-looking veins on your inner wrist suggest cool undertones, while greener veins point towards warm ones.
The trouble is, it’s not particularly reliable on its own. Things like skin thickness and how tanned you are can change how those veins appear.
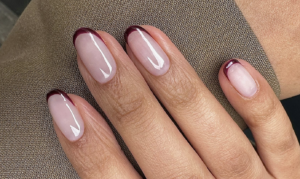
A more useful trick is to hold a piece of yellow gold near your face, then swap it for a piece of white metal. Which one makes your skin look healthier? Yellow gold tends to flatter warm undertones, while white gold and platinum often work better with cool ones. And if both look equally lovely, chances are your undertone is neutral.
The same principle applies to your nail polish, particularly when you’re trying to complement your ring’s metal. Think peach, warm nude or brick red alongside yellow gold, and pink-based nudes or cooler reds with platinum or white gold.
Mixing a very warm polish with a cool-toned metal isn’t necessarily a disaster, but it can make your manicure and ring look like two completely separate styling decisions. Ideally, you want them to feel like they belong together.
Sheer finishes for close-up photographs
There’s a reason milky manicures are such a popular choice for brides and newly engaged couples in 2026.
A sheer wash of white or pale pink over the natural nail looks polished without fighting a colourless stone for attention. Better still, it’s the sort of manicure that works with pretty much any outfit, season or photograph you might find yourself in.
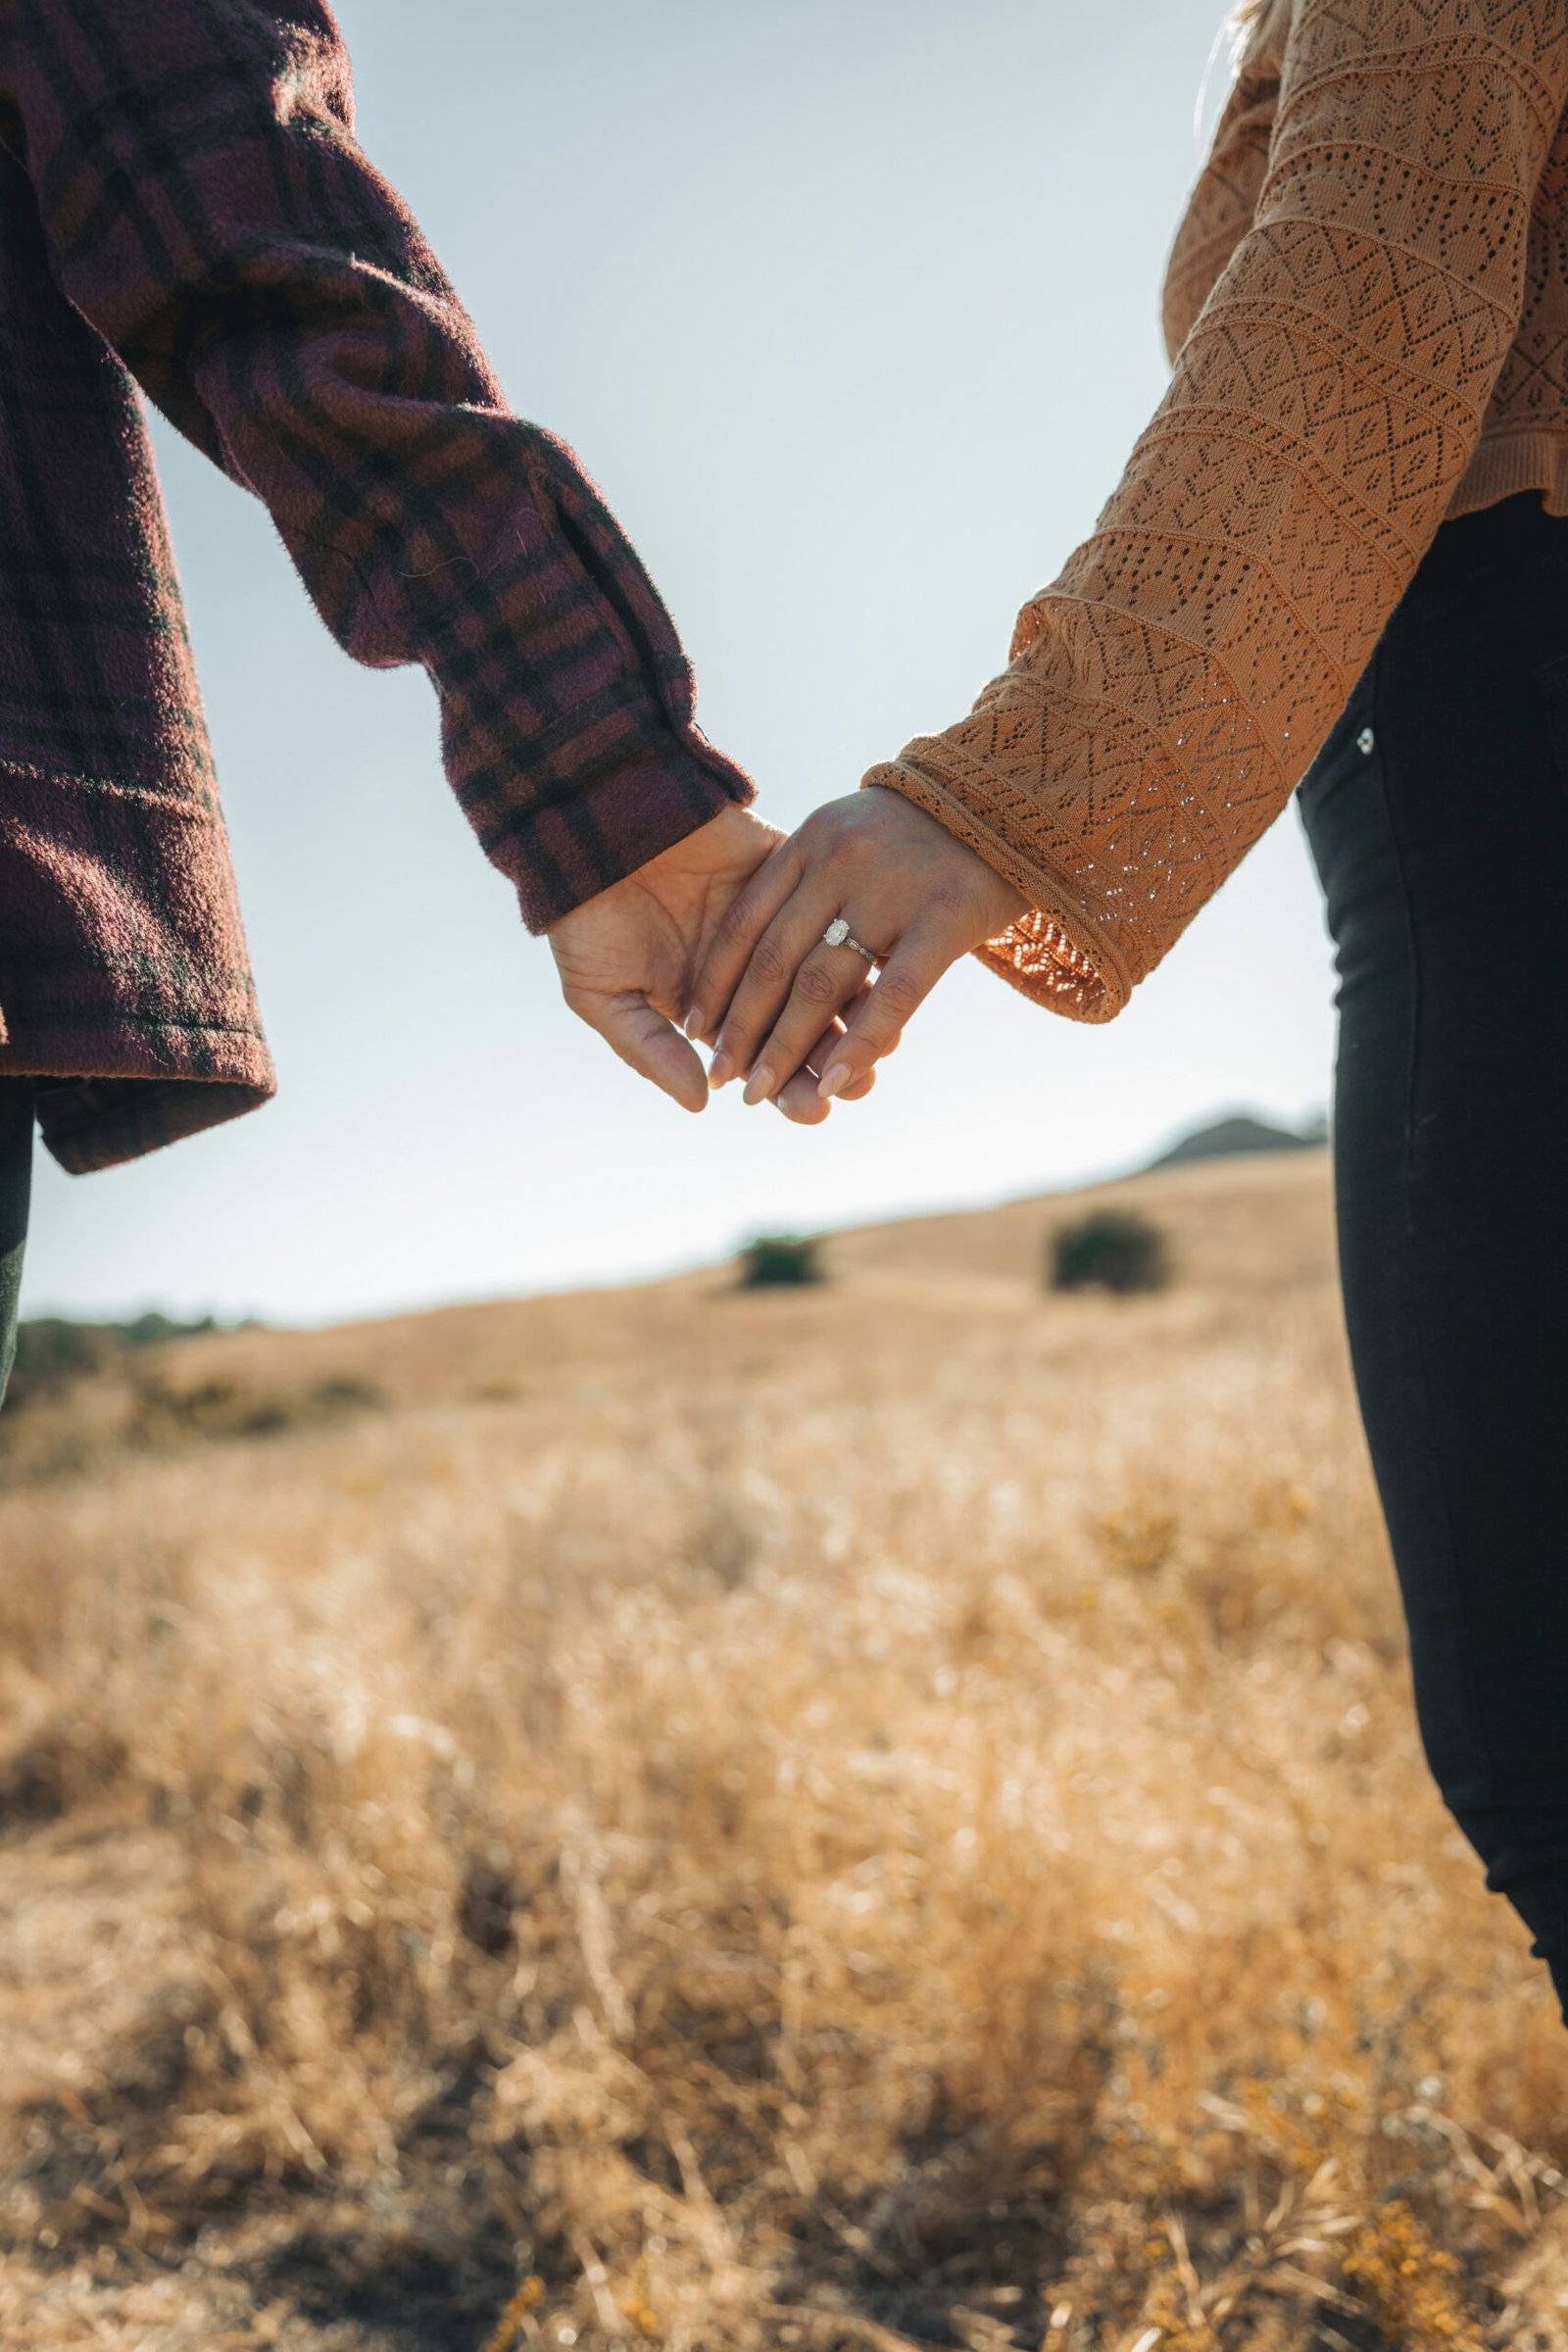
Image – Daniel Lincoln
Strawberry milk nails – that soft, sheer milky pink – are almost as popular as classic milky white among clients who prefer a little warmth. And if you fancy something with a bit more detail, milky French tips and milky chrome finishes offer a subtle twist without introducing another colour.
Of course, there’s nothing wrong with a bold red or a beautifully dark manicure. Both create a striking contrast against a white stone.
Just bear in mind that deeper shades are rather less forgiving. Every little chip and gap around the cuticle tends to show, whereas a sheer polish can disguise those imperfections for a few extra days. So if you’re going dark, it’s worth booking your appointment closer to the photographs.
Ring care at the salon
Your engagement ring might be the star of the show, but it doesn’t need to accompany you through every stage of your manicure.
The safest approach is to take it off before your appointment begins and only put it back on once your nails are completely dry. Polish remover is a particular concern, as acetone can damage porous stones such as opals and pearls, as well as weaken adhesives used in certain settings.
Hand cream and cuticle oil present a less immediate, but equally annoying, problem. Both can build up beneath the stone and around the prongs, leaving a residue that takes some of the sparkle out of your ring.
If you accidentally get nail polish on the metal, gently wipe it away with a soft, dry cloth before it sets. And if it’s already hardened on an expensive ring? That’s one for a professional jeweller, rather than an ambitious DIY rescue attempt.
Nail shapes for each stone outline
When it comes to engagement manicures in 2026, soft square and soft almond are two of the most requested shapes, usually kept relatively short and natural-looking.
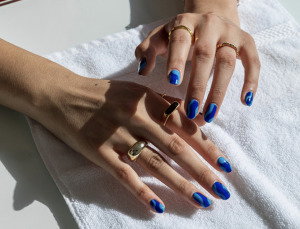
But there’s another consideration beyond what suits your hands: the shape of your stone.
Soft square nails are particularly flattering alongside stones with straight edges. Take a princess cut diamond ring, for example. Its square outline and sharp corners are echoed by the shape of a soft square nail, creating a pleasing sense of balance. Emerald and radiant cuts work beautifully with this shape too, particularly with a little extra nail length.
Oval and pear-shaped stones, meanwhile, tend to sit naturally alongside almond or oval nails, thanks to their shared curves.
And if you have a round stone? You’re in luck. Its lack of sharp edges or points means it works equally well with either nail shape.
Timing before a proposal or photo session
A good gel manicure can last anywhere from two to three weeks for most people, although the edges will often start to lift after around 14 to 18 days, usually on your dominant hand first.
If you’re particularly careful with your nails, you might stretch that to three or four weeks. If your hands are constantly busy with more demanding work, though, one to two weeks may be more realistic.
For engagement photographs, the sweet spot is usually an appointment one to three days beforehand. That gives the polish a little time to settle while still leaving enough breathing room to fix an unexpected chip.
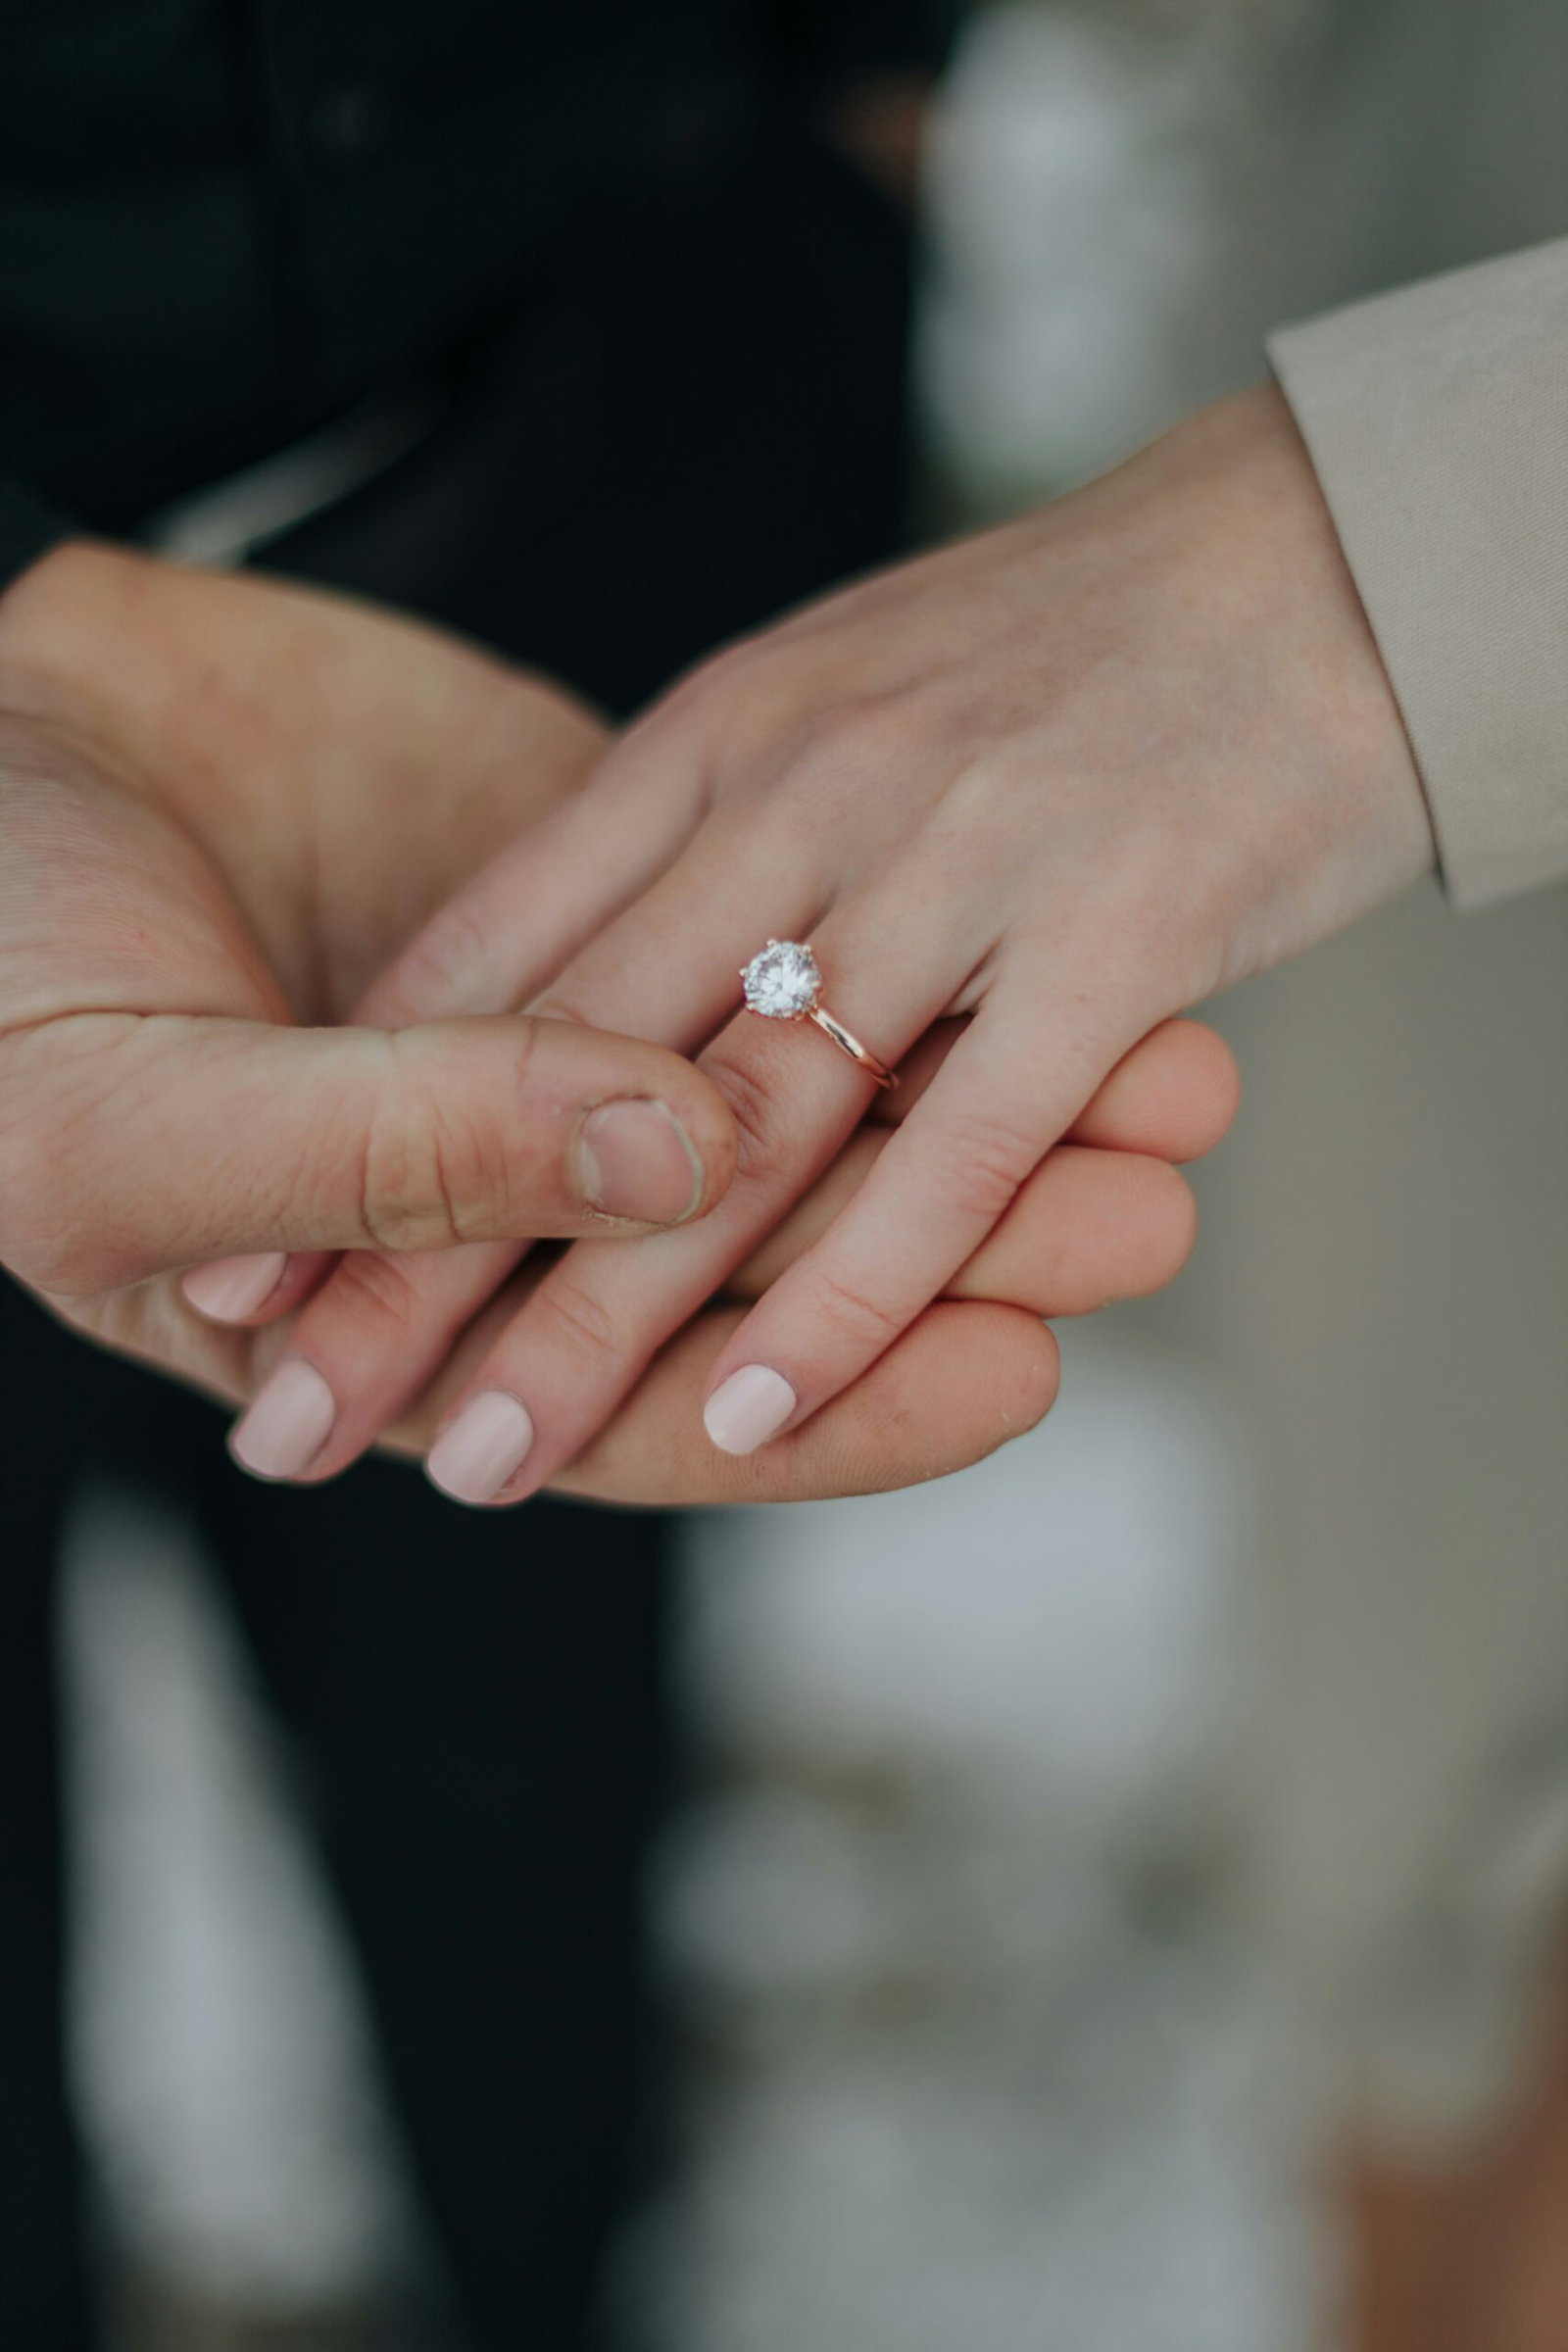
Image – Daniel Gutko
As for cost, a gel manicure in the US generally falls somewhere between $30 and $80. In New York, you’re more likely to pay around $65 to $85, while prices in Midwestern cities such as Chicago can be closer to $25 to $45.
And for anyone secretly planning a proposal who’d quite like their partner’s nails to be photo-ready? You’ll need to come up with a convincing reason for that manicure without giving the entire surprise away. No pressure.
Health questions about gel polish
Of course, looking after your nails isn’t just about choosing a flattering shade. There are a few health considerations worth knowing about too, particularly if gel manicures are part of your regular routine.
A study published in Nature Communications in January 2023 found that a single 20-minute exposure to the ultraviolet nail polish dryer used to cure gel polish killed 20% to 30% of the cells tested. Three consecutive sessions killed 65% to 70%.
Those figures sound alarming, but there’s an important distinction: the research was carried out on cells in a laboratory dish, not on people. The authors did not conclude that nail lamps cause cancer in humans.
An earlier study, published in JAMA Dermatology in 2014, suggested that the UV exposure from a gel manicure every two weeks was probably too low to meaningfully increase skin cancer risk.
Even so, dermatologists recommend taking precautions. Applying a broad-spectrum SPF 30 or higher sunscreen to your hands before curing, or wearing fingerless UV-protective gloves that expose only the nails, can help limit exposure.
UV lamps aren’t the only consideration, either. HEMA, an acrylate compound used in gel and acrylic nail products, is a major cause of nail product allergies and was added to the European baseline patch test series in 2019.
In 2018, the British Association of Dermatologists described artificial nail allergy as an epidemic, following research that found 2.4% of people tested were allergic to at least one acrylate chemical.
These allergies can develop after repeated exposure, sometimes over several months, and may show up as itching or tiny blisters around the cuticles.
And while an allergic reaction is unpleasant at any time, having to take your engagement ring off because the skin on your ring finger needs to heal is hardly ideal in the middle of all those celebrations.
If you’d rather skip the curing lamp altogether, press-on nails are another option. A glued set can last one to two weeks, which is more than enough to see you through a proposal weekend and the photographs afterwards.
Ring photographs in natural light
You’ve chosen the polish, perfected the shape and made sure your ring is sparkling. Now comes the photograph.
The good news? You don’t need a professional photographer or elaborate lighting setup to capture it beautifully.
Soft, diffused light from a window or an overcast sky is usually your best friend when taking a phone photograph, as it helps show both the stone and your manicure accurately.
If you’re outside, a cloudy day or the hours after 4 p.m. can help you avoid harsh shadows. Indoors, try positioning yourself with your back to a window and switching off the room lights.
And resist the temptation to use flash. It can create a harsh hotspot on the metal while making the stone look surprisingly flat. Not quite the sparkle you’re after.
Make sure the ring is facing your main light source, too, or you risk leaving the stone in shadow.
A slight angle to the hand often gives the ring more prominence than a completely flat, head-on photograph, although emerald-cut stones can look particularly beautiful photographed from directly above.
As for your fingers, relaxed is the way to go. Resting your hand gently on a glass or your partner’s hand tends to look much more natural than spreading your fingers wide.
Finally, tap your phone screen directly on the stone to bring it into focus, rather than accidentally making your nail tips the sharpest part of the picture.
The takeaway
So, back to that all-important engagement ring photograph. When your polish complements the metal, your nail shape echoes the stone and your manicure is just a couple of days old, everything works together rather than competing for attention.
The ring gets its moment, just as it should. And your nails? They’re the beautifully understated finishing touch that makes the whole picture look that little bit more polished.